READ: Searching for Evidence
| Site: | Mountain Heights Academy OER |
| Course: | Medical Forensics Q1 |
| Book: | READ: Searching for Evidence |
| Printed by: | Guest user |
| Date: | Sunday, 27 July 2025, 5:04 PM |
Assessing the Scene
Once the crime scene has been secured the next step is to walk through the scene to get an idea of the conditions and considerations within the scene. This step is usually completed by the lead investigator. The investigator will go through the scene and document evidence. As they go through the scene they will place evidence markers next to each piece of evidence they find. Evidence markers are usually yellow or orange signs or cones with numbers or letters on them. The number or letter of each piece of evidence will be recorded. They will also document evidence using photos, videos and drawings.

The investigator will want to make note of conditions in the scene such as the temperature, if windows or doors are open, if things appear to be broken or disturbed, if there are certain smells present in the scene. It is also good to look for things such as food, appliances turned off or on, or other clues as to what the victim may have been doing. Some of these types of clues could be a faucet running or the TV turned on.
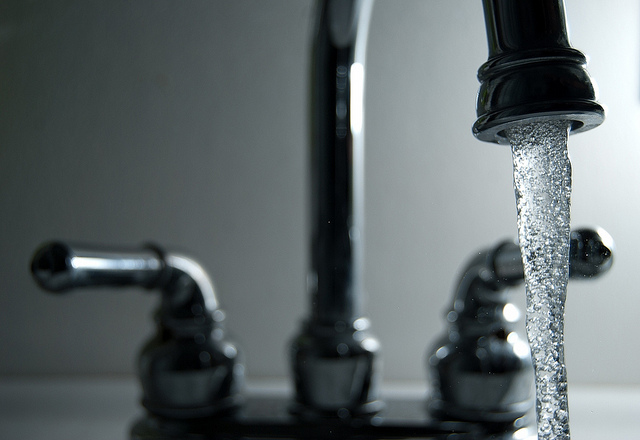
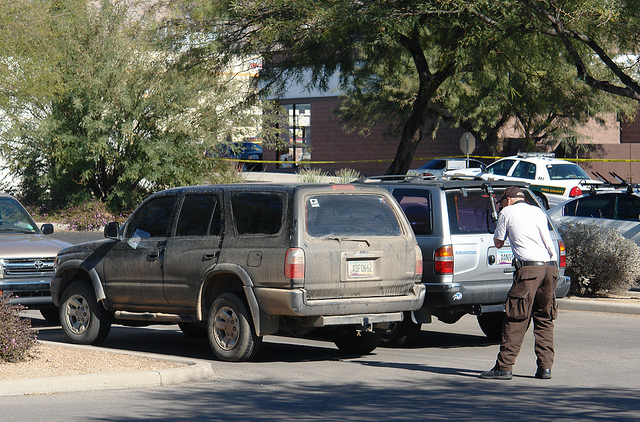
Some of these initial conditions may change quickly so it is also important for the responding officer to note anything present at the scene that may change. These could be things such as smells, temperature, vehicles present, or vehicles with hot engines. The investigator will need to know any of these observations that the initial officer noted.
The investigator will also want to determine whether the scene is a primary or secondary scene. A primary scene is where the actual crime originally took place. A secondary scene is a scene that became involved after the initial crime took place. A good example of this is a body being transported. The primary scene would be wherever the initial crime took place and the vehicle would be considered a secondary scene. Sometimes even if a body is present you may be looking at a secondary scene if the body was transported from where the actual crime took place.
Setting up the Command Center
Setting up the Command Center
The lead investigator will also need to set up a command center so that all personnel working the scene can communicate. This is usually a vehicle that contains equipment needed to process the scene. Often this equipment consists of rubber gloves, shoe covers, evidence containers, chemical testing reagents, paperwork, evidence markers, cameras, etc. Some departments have access to vehicles dedicated to just this type of work. They may be bigger vans or trailers that contain a lot of equipment. Smaller departments may just carry this equipment in the back of a regular vehicle.
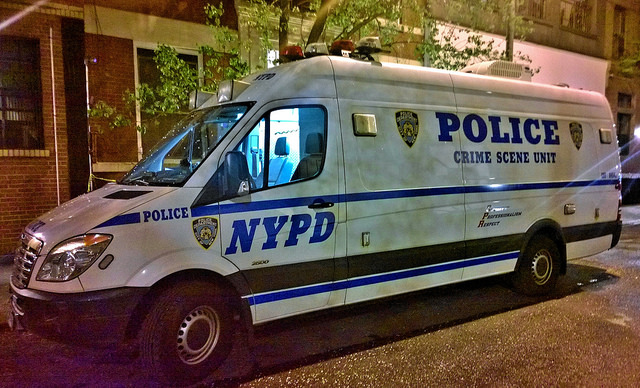
The command center should be set up outside the crime scene boundary and should be a place where all investigators can get equipment, store evidence, and communicate about different responsibilities. Once the initial walk through has happened, the lead investigator can assign roles to other members of the team. Other investigators may be assigned to canvas the area to search for evidence that has not yet been found. Investigators will then determine what needs to be done to process the evidence. Evidence will be collected and documented. Depending on the size of the department and the size of the crime scene being processed, many investigators may be involved or there may just be a few.
Searching for Evidence
Searching for Evidence
Before evidence can be documented it must be found. There are several different patterns that are often used by investigators as they search a crime scene. The specific pattern that is used depends on the type of crime scene, how large the crime scene area is, and how many investigators are helping in the search. Some of the more common patterns are the line, grid, spiral, or zone patterns.
| The line pattern is very simple and can easily be used by one or more investigators. The investigators will walk back and forth from one side of the crime scene boundary to another. If two or more investigators are doing this, they should walk side by side at the same pace so that no evidence is missed. | 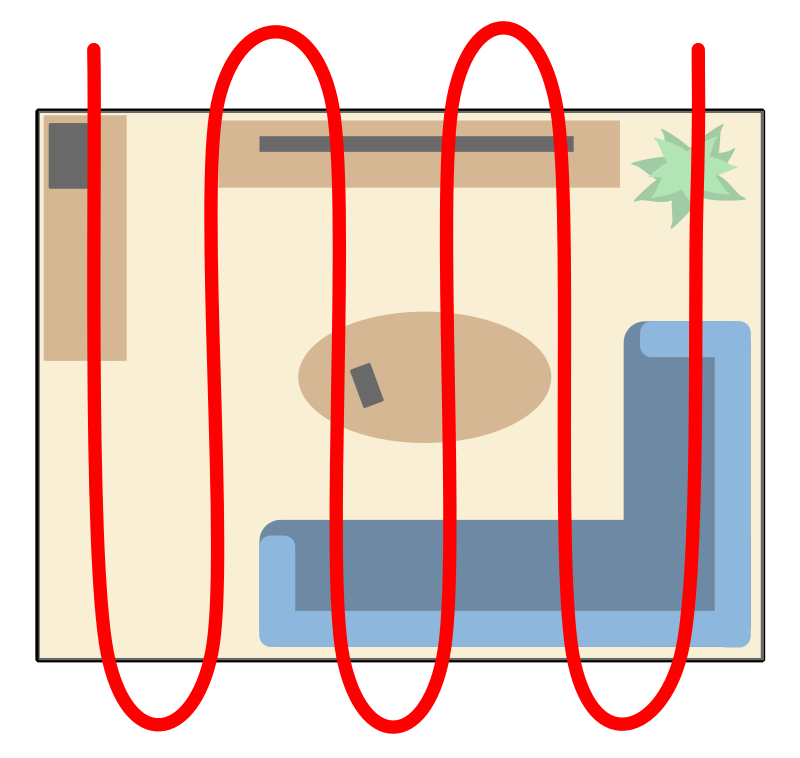 |
| The grid pattern is like the line pattern, but is more thorough. In the grid pattern one or more investigators walk back and forth from one boundary of the crime scene to the other. Once they have done this in one direction, the investigators will turn and do the same pattern in the other direction. With this search pattern each area is gone over twice so evidence is less likely to be missed. If more than one investigator is doing this they should form a line and walk side by side at the same pace. | 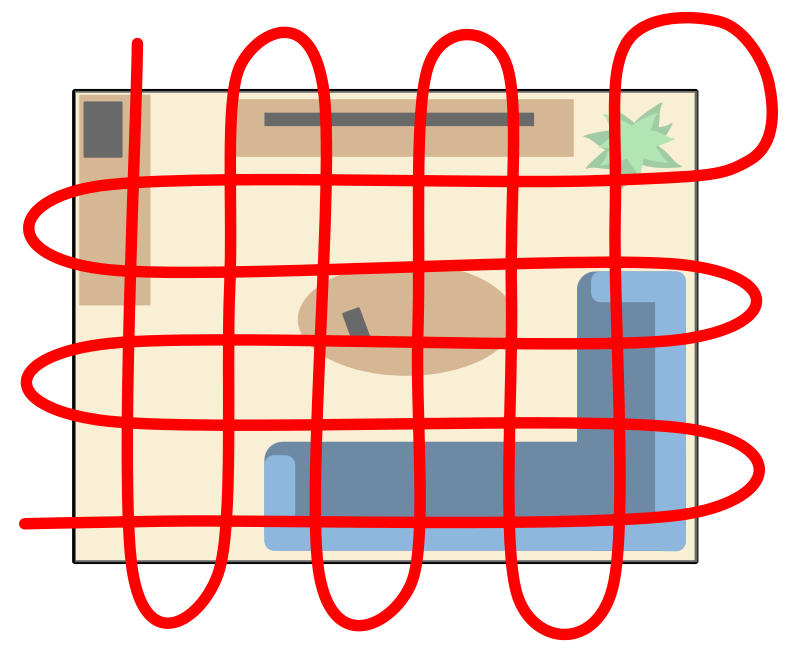 |
| The spiral pattern can be done with just one person, but it may not be as thorough. In the spiral pattern the investigator will move through the scene in a spiral fashion. They can start in the middle of the scene and move outward, or they can start on the outer edges and move inward. This pattern is not as thorough because it can be difficult to walk in a spiral pattern and not leave any gaps. Evidence is more likely to be missed with this pattern. | 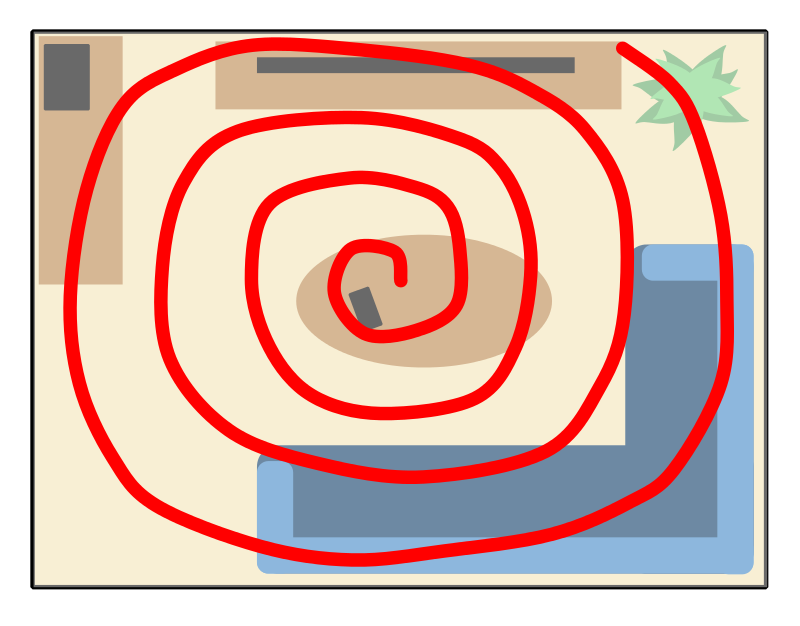 |
| The zone pattern is usually more efficient when multiple investigators can help or if the crime scene is very large. In the zone pattern investigators are assigned to search a specific zone. | 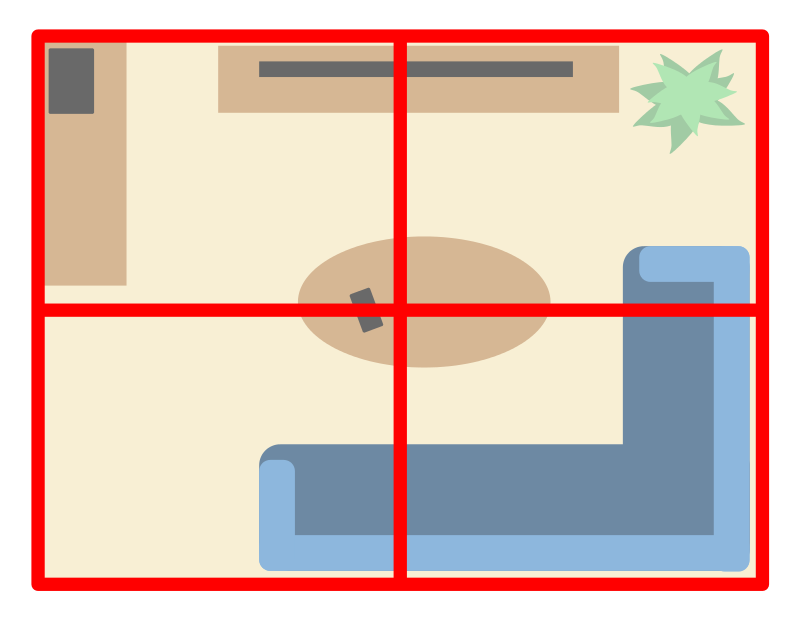 |
Each of the different patterns can be useful depending on the nature of the crime scene. For example, if the scene is in a large outdoor field and at least several investigators are available, it may make sense to do a grid pattern search or a zone search pattern. If the scene is in a large room in an office building full of cubicles, a zone search may be the only type of search pattern that is possible since investigators can’t walk freely through the room.
While investigators are searching for evidence they should move slowly and carefully. As they find evidence in the scene they should place an evidence marker next to it so it can be thoroughly documented and collected after the search is complete. The investigators should avoid disturbing the scene as much as possible. They should also be observant and remember that evidence is not just located on the floor. Evidence may be on the walls or ceilings, or in less obvious places such as under rugs or blankets. Looking for evidence takes time and should not be rushed. Carelessness could cause valuable evidence to be lost or destroyed.
Grid Search Pattern Video
The video below shows how the grid search pattern works:
Collecting Evidence
Evidence Collecting Techniques
Evidence is the available body of facts or information indicating whether a belief or proposition is true or valid. When investigating a crime scene, one must not only locate, collect and preserve the evidence, but must also recognize the differences in types and characteristics of evidence. Some evidence may indicate a specific person or source, while other evidence may only indicate a generic grouping of people or items. As a Forensic Scientist, it is important to understand the difference so that proper conclusions are drawn from the available evidence.
Types of Evidence Interactivity
Common Types of Evidence and Collection Procedures
|
Item of Evidence |
Collection |
Preservation/Storage |
|---|---|---|
|
Blood (pooled, not dried) |
Absorb blood with sterile gauze or cloth. |
Air dried at room temperature and refrigerated or frozen as soon as possible. May become unusable if not preserved by 48 hours. |
|
Blood (dried stain) |
Wrap clothing or object in clean paper and tape closed. Seal in brown paper bag or box. If it is not possible to bring the item to the lab, the technician will scrape the dried stain with a clean knife or instrument into a clean envelope and then seal it in an evidence container. |
Bring to lab for processing. |
|
Saliva |
Collect on a sterile swab, gauze or cotton cloth and allow to air dry. |
Place swab, cloth or gauze in a clean paper bag and seal. Do not store the sample in a plastic container. |
|
Hair |
Collect with tweezers or fingers and place in a paper bindle. |
Package in a clean envelope or paper evidence container. |
|
Fibers |
Collect with tweezers or fingers and place in a paper bindle. Never put them directly into an envelope because small fibers are easily misplaced in large envelopes! |
Package in a clean envelope or paper evidence container. |
|
Glass |
Small pieces of glass can be packaged directly into a paper bindle. A bindle is a folded piece of paper used to contain trace evidence. |
Once in bindles, the small glass pieces can be packed in boxes or canisters and labeled. Large pieces of glass should remain in the box originally packed in, sealed and labeled. |
|
Paint |
Collect paint chips found at the scene in separate paper bindles. If paint is found on clothing, roll the clothing in clean paper and seal. |
Package in container, seal and label. |
|
Firearms |
Turn safety on and take out magazine (if indicated). Do not take shotguns or rifles apart. Never submit a loaded weapon. |
Package in heavy cardboard or wooden box. |
|
Bullets & Cartridge Cases |
Wrap bullets in paper and seal. |
Package in small boxes or envelopes. |
|
Tool Marks |
Wrap item with tool marks or portion of item (like part of a door jamb) in paper, seal and label. If the item is too large or impractical to send to the lab, casts can be made of the tool marks. The casts are not always reliable and may not be very useful. |
Package in box or envelope as indicated by size. |
|
Drugs |
Put each drug evidence item in separate paper or specialty evidence containers (PCP, for example requires special containers.) |
May package in box or larger envelope. Prescription drugs should be left in original container, sealed in an evidence container and labeled. |
|
Documents |
Put into cellophane or plastic envelopes. Do not mark or deface the documents in any way. Charred documents should be placed on top of cotton and placed in a box. |
Seal and label package and hand deliver to lab when possible. If mailed, it must be sent through certified or registered mail. |
|
Fingerprints |
Fingerprints can be lifted and then sealed and placed in an envelope. Photographed fingerprints should be labeled and scaled in the photo. Larger items should be handled as little as possible (even gloves or clean cloths used to lift the item can smear existing prints). The item should be packed in boxes and secured with string or peg board. Documents with possible fingerprints should be placed in cellophane or manilla envelopes, sealed and labeled. |
Seal and label packages as indicated by size/type. |
Georgia Virtual, Crime Scene Investigations, CC BY-NC-SA 3.0

